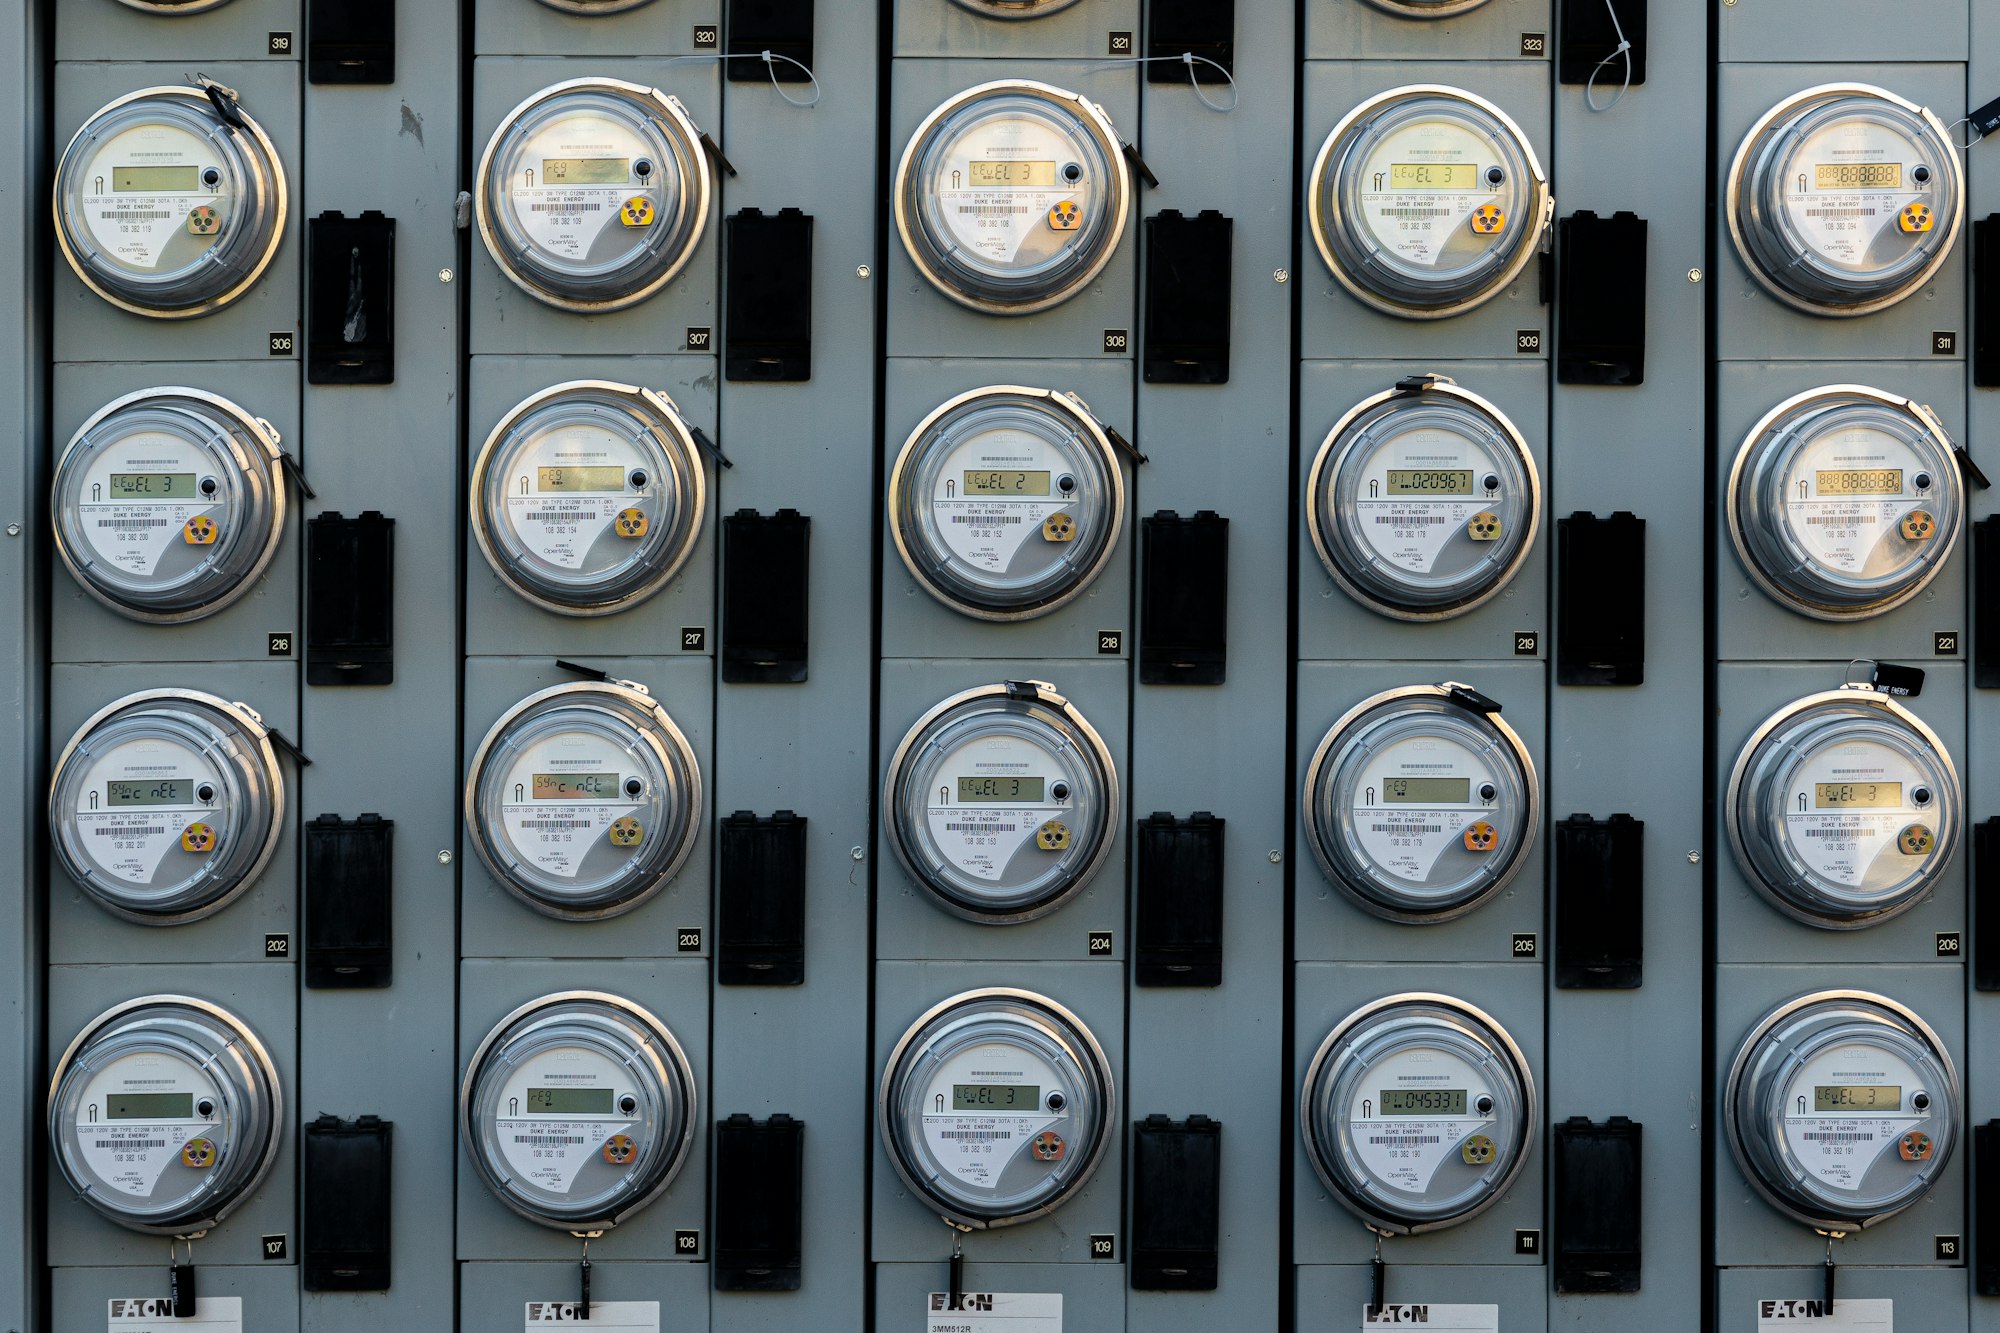
Integrating Utility Meters in Home Assistant with rtl_amr
In experimenting with an SDR, I stumbled upon broadcasts from my utility meters and successfully integrated them with Home Assistant.

Don't want the introduction? Skip to Setting It Up
I've been experimenting a lot recently with Home Assistant and trying to connect as many things that already exist in my home to it. I was trying to connect my La Crosse weather station locally (which I'll talk about in another post) and was debugging why my rain sensor wasn't showing up.
As part of that, I stumbled on a command-line tool called rtl_433, a great open-source project which can decode a variety of transmissions from various devices in the ISM band using a cheap RTL-SDR. When I ran it (at 915MHz), I not only saw transmission from my weather station, but also a lot of ERT-SCM messages. After some googling, I found a Wikipedia article which says
Encoder receiver transmitter (ERT) is a packet radio protocol developed by Itron for automatic meter reading. The technology is used to transmit data from utility meters over a short range so a utility vehicle can collect meter data without a worker physically inspecting each meter.
"That's cool," I thought. "I wonder if I can get that data into Home Assistant." With some more Googling, I found a project by the GitHub user allangood that does exactly that: within a Docker container, it runs rtl_tcp and rtlamr and a small Python program sends that data to Home Assistant via MQTT. You can either follow the instructions in the Readme of the repo or follow my guide below.
Setting It Up
This guide will assume you have Home Assistant set up and connected to an MQTT broker. If you don't have that working, please set up Home Assistant, and connect Mosquitto (if you can install add-ons to Home Assistant, that's the easiest way to set up MQTT).
If you are running Home Assistant on a Raspberry Pi or other bare-metal, the easiest way to set up rtlamr2mqtt is via the Home Assistant Add-On. Simply add the repository to your Add-Ons, then install it from the UI.
If you are running Home Assistant in a Docker container or in a VM and don't want to pass your SDR in (like I am), you should set up the Docker container on your host. Install Docker and Compose, then create a folder to set it up in and open a terminal in it.
Create a docker-compose.yml with the following content:
version: '3'

services:
  rtlamr:
    container_name: rtlamr
    image: allangood/rtlamr2mqtt
    restart: unless-stopped
    devices:
      - /dev/bus/usb	# Use if you only have one SDR connected
      # - /dev/bus/usb/<bus>/<device>	# Use if you have multiple SDRs connected to your host. Run lsusb to find the bus and device number of a particular SDR
    volumes:
      - ./config.yml:/etc/rtlamr2mqtt.yaml:ro
- ./data:/var/lib/rtlamr2mqttdocker-compose.ymlBefore you create the container, we'll need to set up the configuration file. Create a config.yml in the same directory:
general:
  sleep_for: 60	# Sleep for a minute after receiving a reading from the meters. Keeps CPU usage and temperatures low.

mqtt:
  ha_autodiscovery: true
  ha_autodiscovery_topic: homeassistant
  base_topic: rtlamr
  host: <MQTT Broker IP>
  port: 1883	# only required if you have a non-standard port
  user: mqtt	# the user for your MQTT broker
  password: "<password>"

meters:
  - id: <meter ID>
    protocol: scm
    name: electricity_meter
    unit_of_measurement: kWh
    icon: mdi:meter-electric-outline
    device_class: energy
    state_class: total_increasing
  - id: <meter ID>
    protocol: scm
    name: gas_meter
    unit_of_measurement: "ft³"
    icon: mdi:meter-gas-outline
    device_class: gas
    state_class: total_increasing
Replace the Meter IDs with the ID from the label on your meter. It will be an eight or ten-digit number with a barcode (usually of the format ## ########[##] (the first two digits don't matter). See the rtlamr docs for examples of what to look for.
I used SCM as the protocol in the above example because that's what both of my meters are, but it may be any of scm, scm+, idm, netidm, r900, or r900bcd. If SCM doesn't work, try the others, or try running the container in listening mode: docker run --rm -e LISTEN_ONLY=yes -e RTL_MSGTYPE="all" --device=/dev/bus/usb:/dev/bus/usb allangood/rtlamr2mqtt.
Your units may also be different. Some electricity meters report in Watt-hours (Wh), and some gas/water meters report in cubic meters (m³).
Feel free to customize the configuration to match your setup: the icon can be omitted, or set to whatever you like (the icon name from materialdesignicons prefixed by mdi:). device_class only supports energy (electricity) and gas, but that allows your meter to be integrated into the Energy dashboard.
The End Result
Once you have everything connected, you'll be able to set up the Energy dashboard and get visualizations like this and much more.

This was a quick overview of rtlamr2mqtt and integrating utility meters into Home Assistant. I strongly suggest reading the docs for that tool because they probably do a much better job explaining certain things and provide more flexibility with setting it up.
If you have questions or comments, please feel free to email me at hello(at)gizm0.dev.
